Table of Contents
Getting Started with the Inline Parser
Creating an X12 837I Claims file from an XML file
(Project 1)
Configuration Basics
Getting Started with the Inline Parser
[Table of Contents]
The easiest way to get started with the Inline Parser is to use the Examples provided with in the product.
In our example we will convert an X12 to CSV
and then convert that CSV file back to a X12 file.
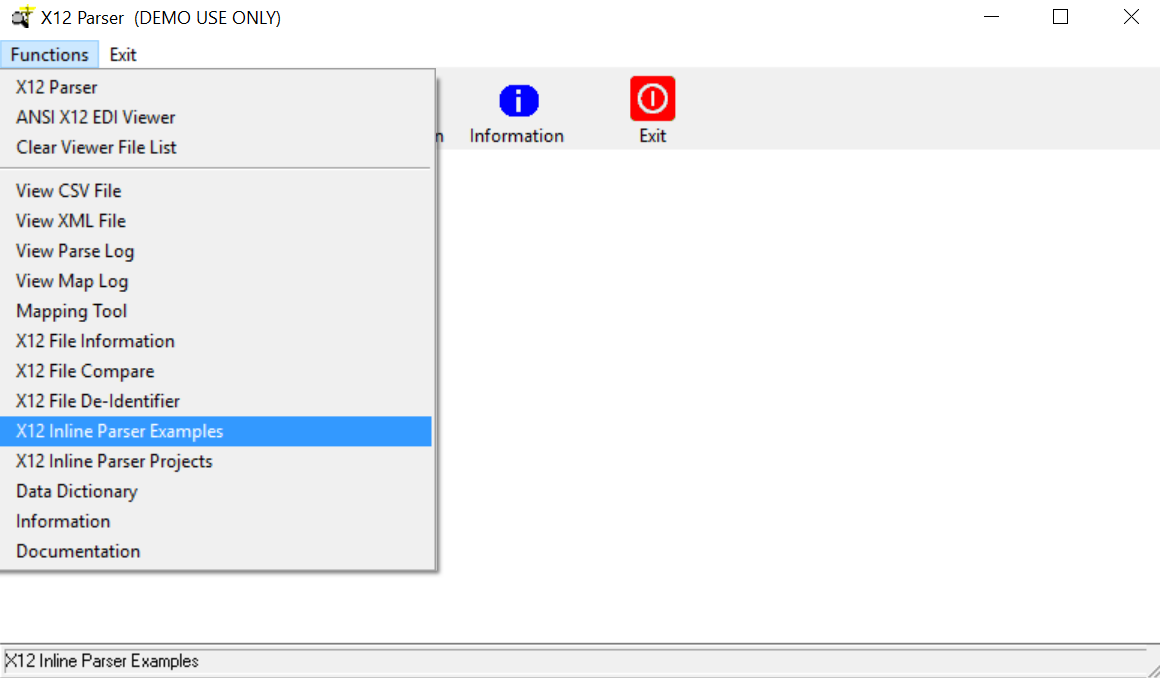
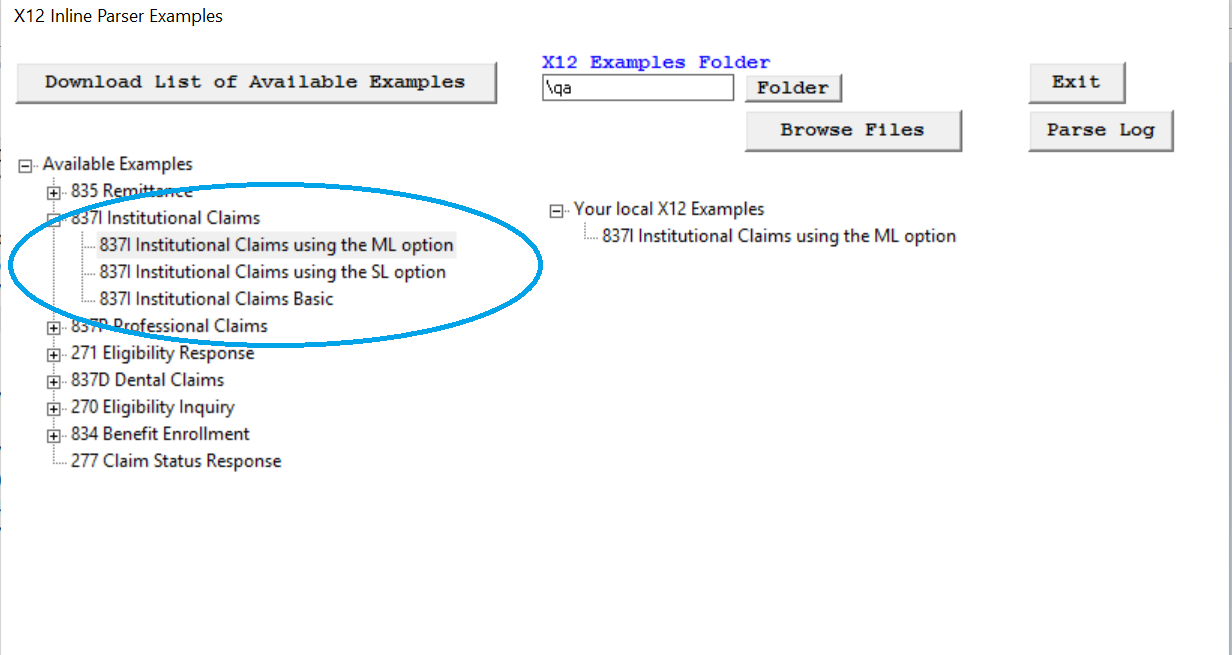
After you have selected the X12 Inline Parser Examples
from the parser menu a dialog box will be displayed for the examples.
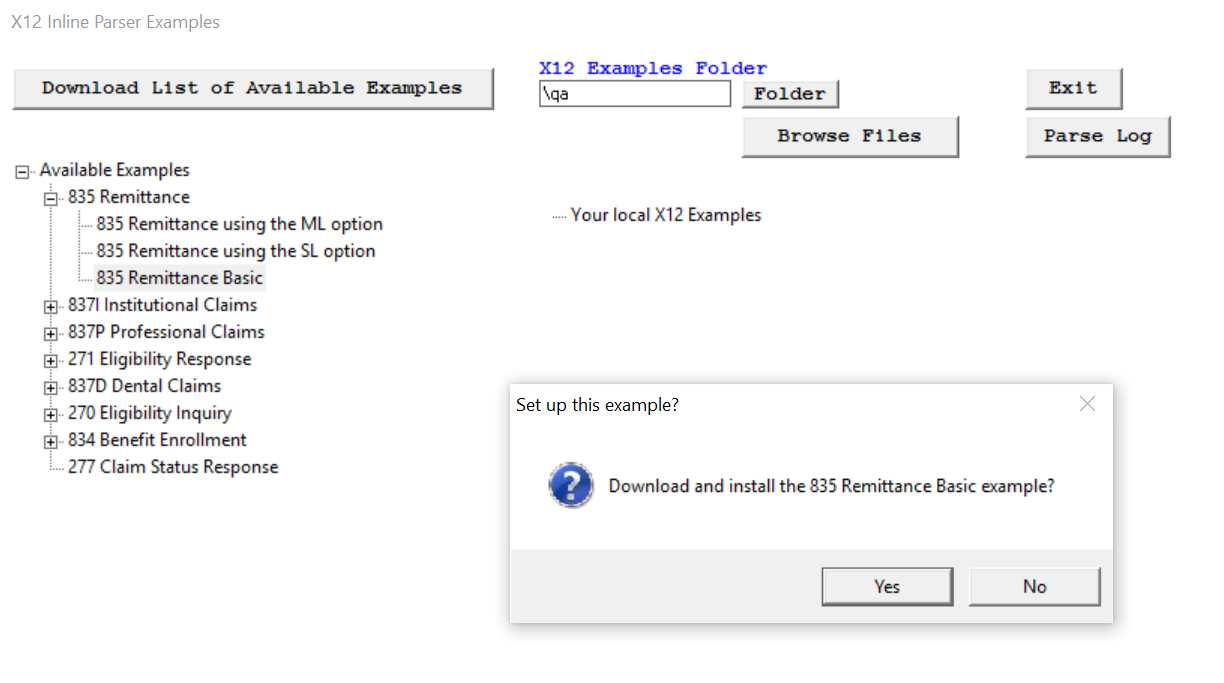
When you click on the Download List of Available Examples button, a listing tree of the available examples will be diplayed on the left hand side of the screen.
Expand the tree to display the examples. When you click on one of the examples you will be asked if you would like to download that example.
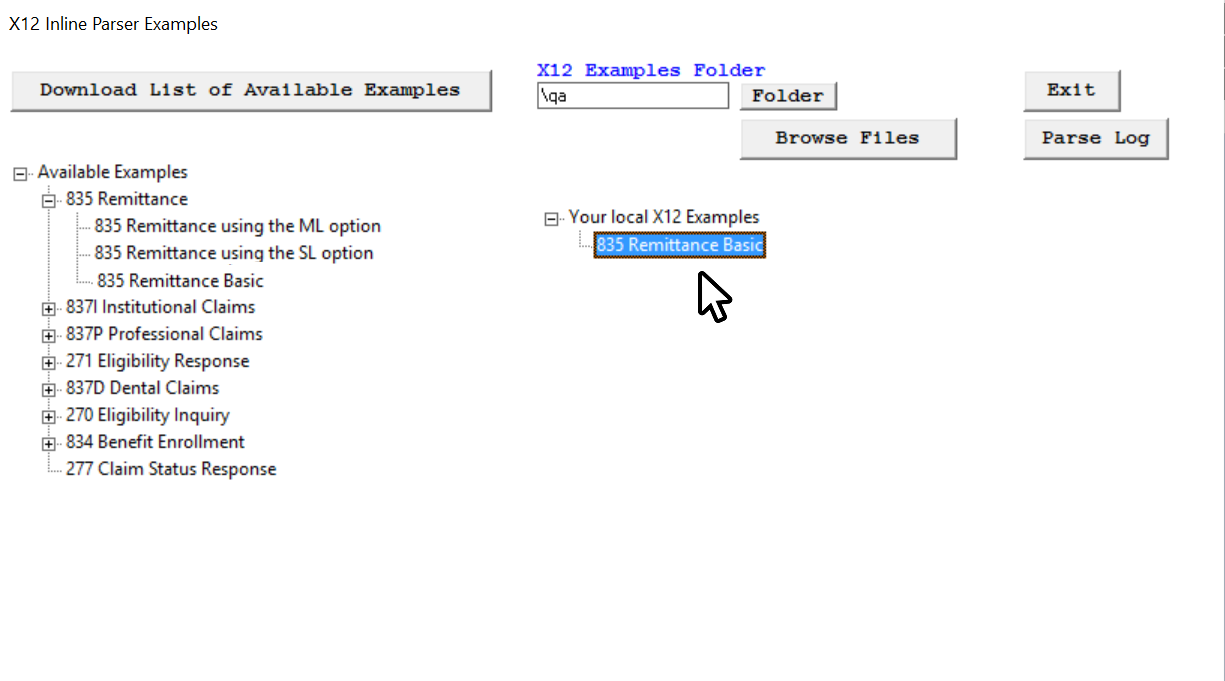
After the example has been downloaded it will be displayed on the right hand side of the X12 Inline Parser Examples screen.
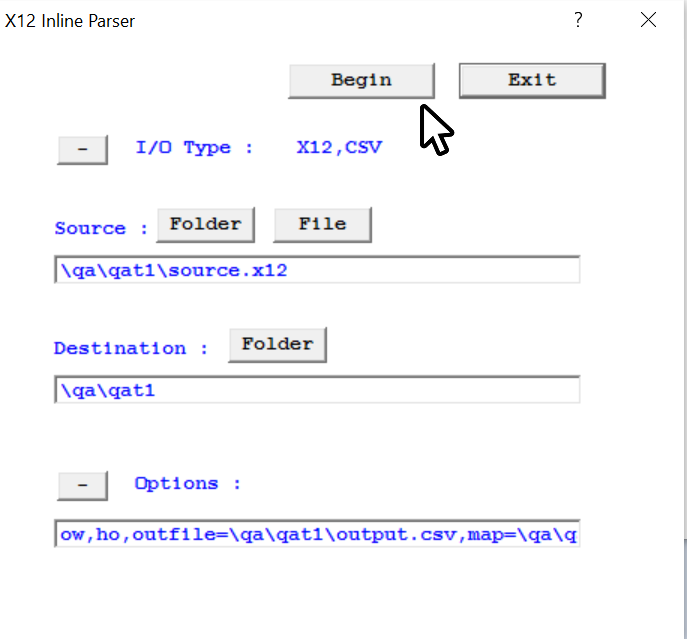
Click on the Begin button and the Inline Parser will read the X12 source file and create an new CSV file.

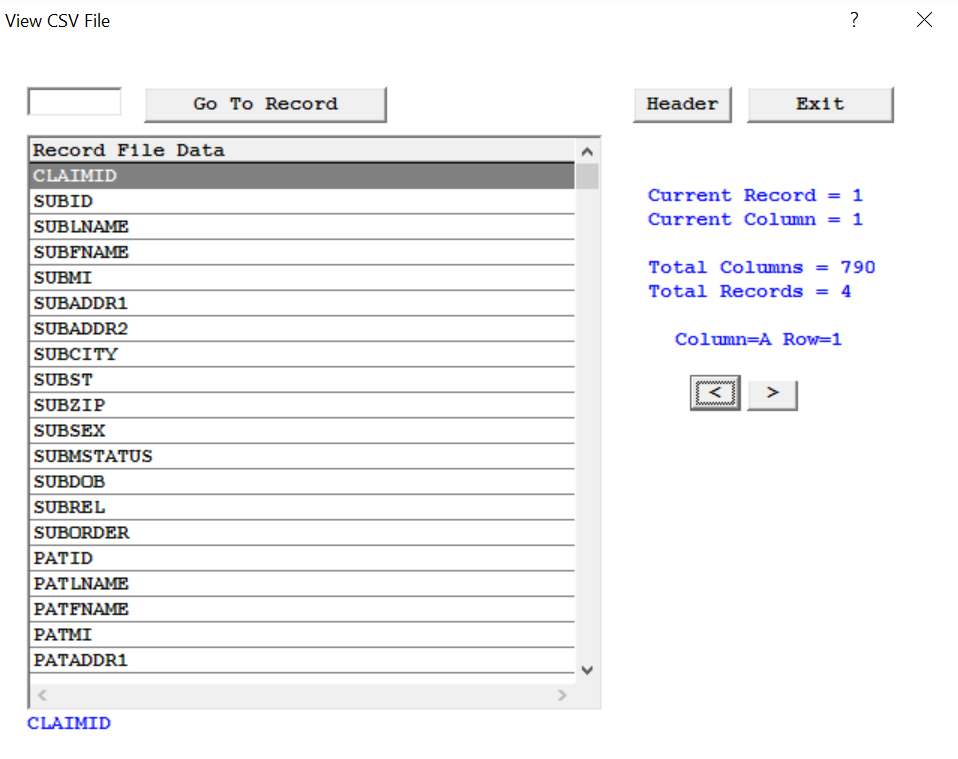
After the Inline Parser has completed creating the CSV file you will be asked if you would to view it using the CSV Viewer
In the CSV Viewer use the Arrow Right and Arrow Left buttons to navigate the records and the slide bar on the listbox to navigate the fields.
Next we are going to convert the CSV file that we created back to an X12 file.
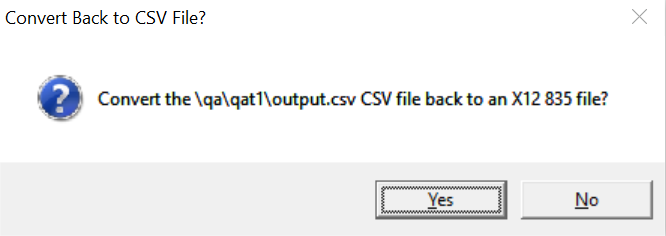
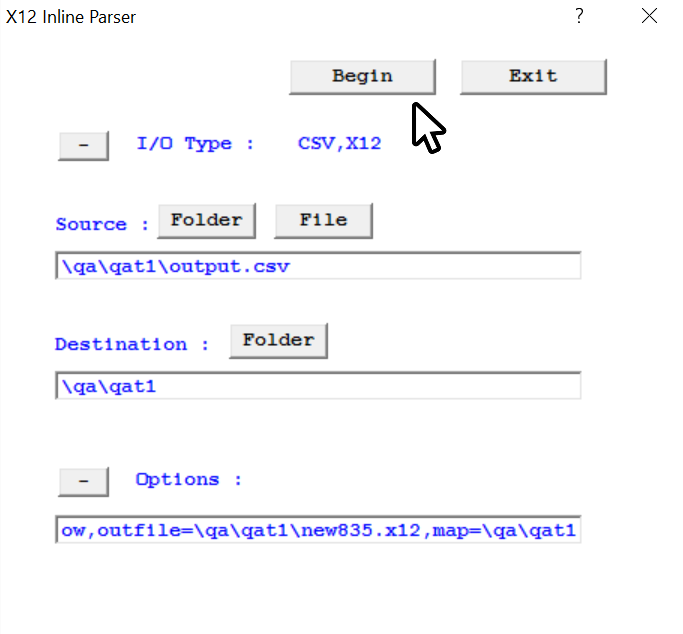
Click the Begin button and the Inline Parser will create an new X12 EDI file from our CSV file that we created in the prior process.
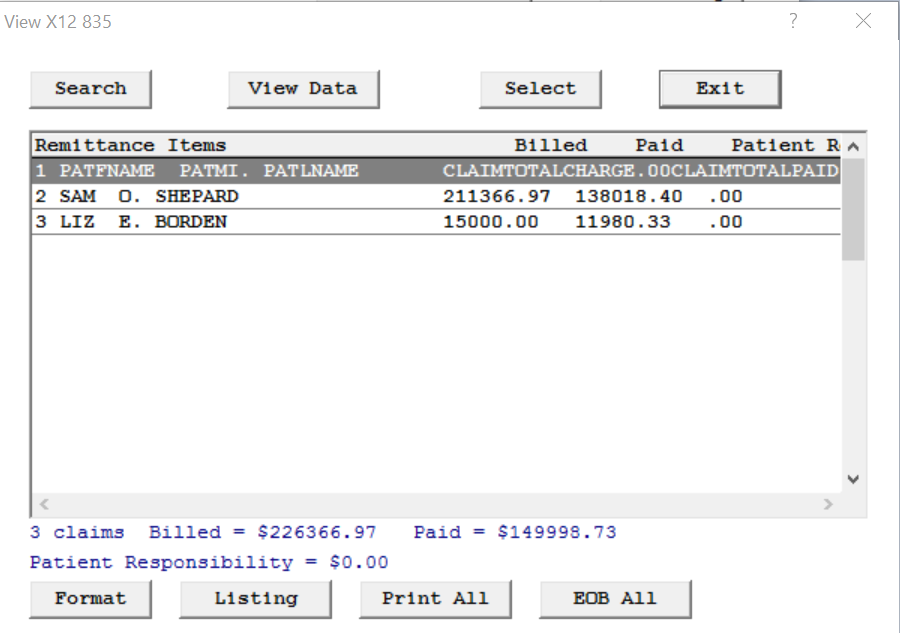
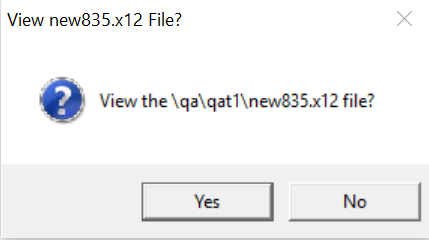
After the Inline Parser has created out X12 EDI file we can view it using the X12 Viewer.
Creating an X12 837I Claims file from an XML file
(Project 1)
[Table of Contents]
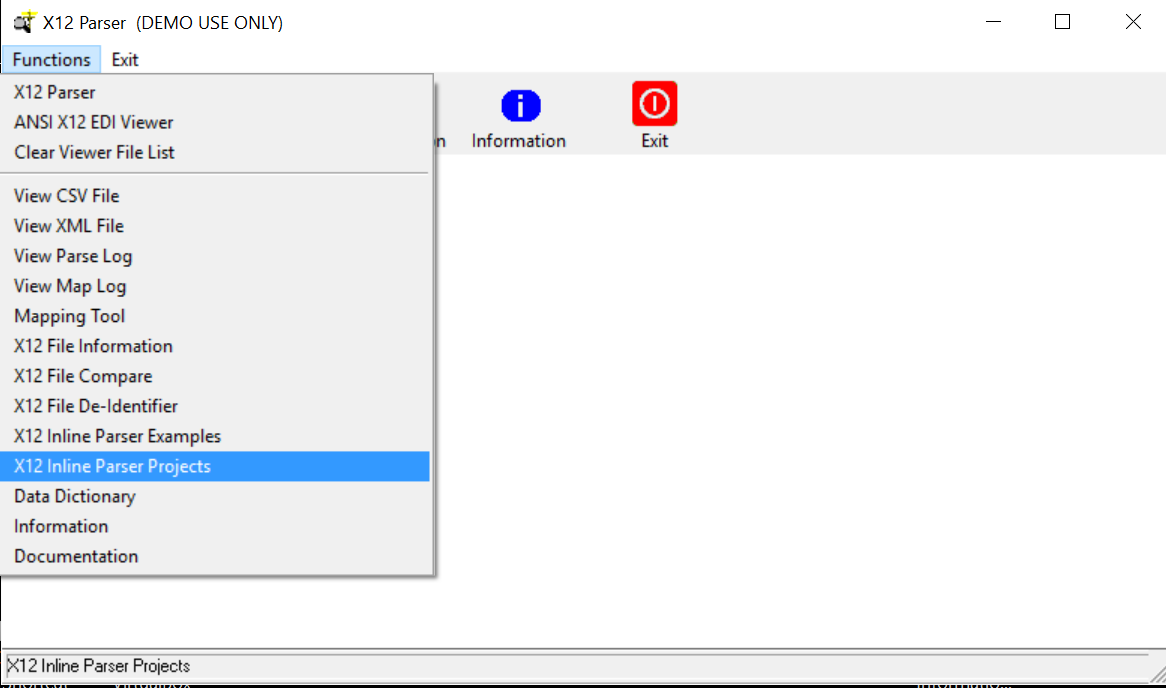
From the Functions menu within the Inline Parser select the X12 Inline Parser Project.
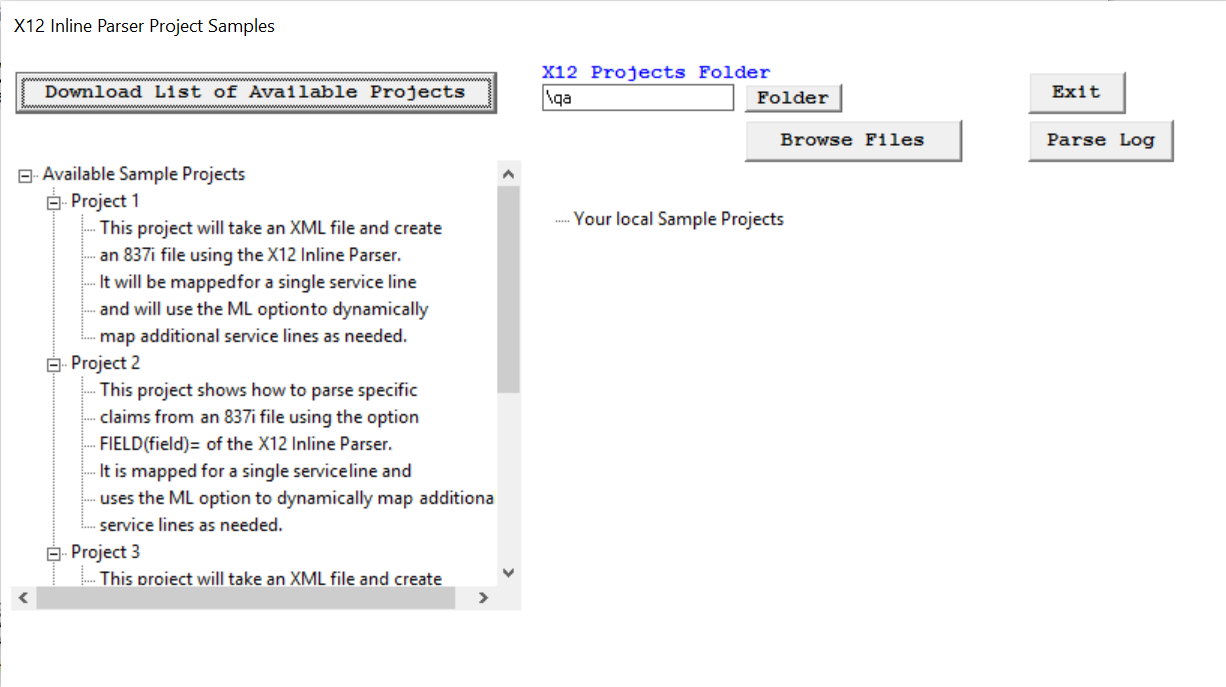
In the X12 Inline Parser Project Samples dialog box click the Download List of Available Projects.
A list of available projects and their descriptions will be displayed in a list tree on the left hand side of the dialog box.
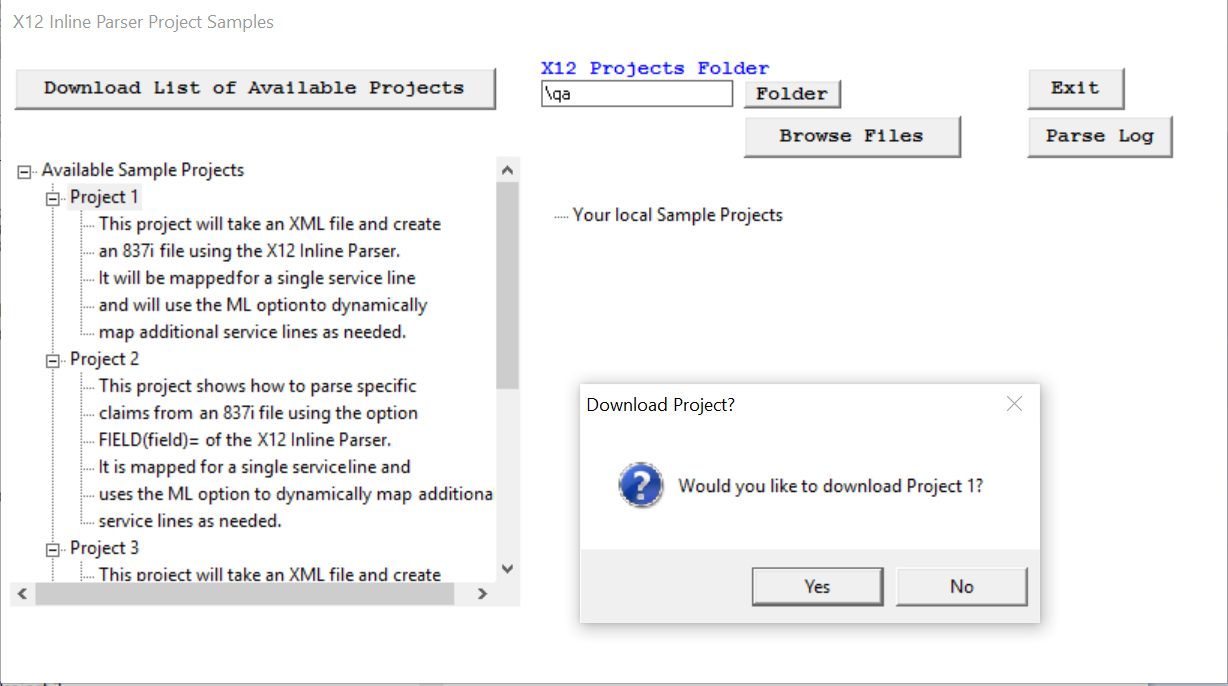
Click on Project 1 and download it to your local computer.
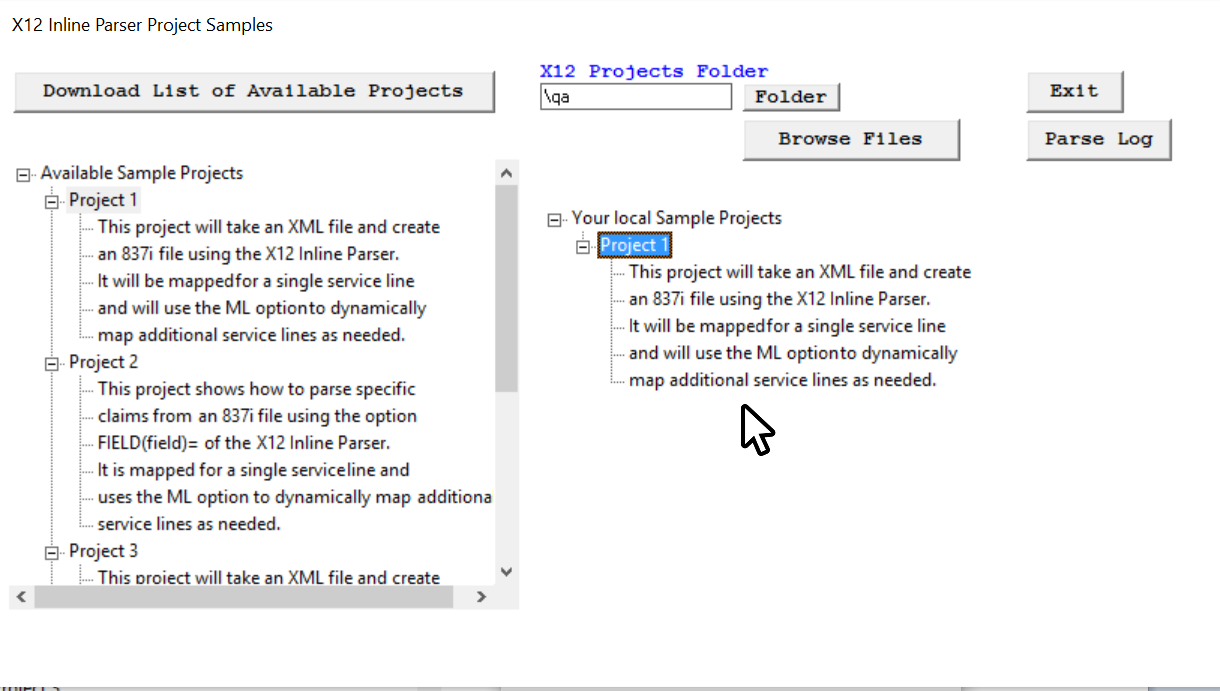
Once downloaded the project will be displayed on the right hand side of the dialog box under the Your Local Sample Projects.
Click on Project 1 in your local samples to display the Inline Parser user interface.
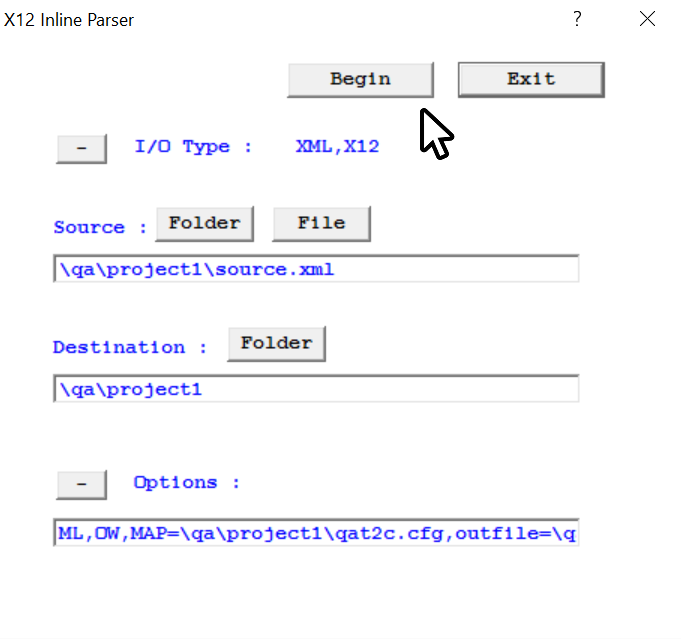
Click the Begin button to start the conversion process. The X12 837I output file will be created and placed in the \qa\project1 folder.
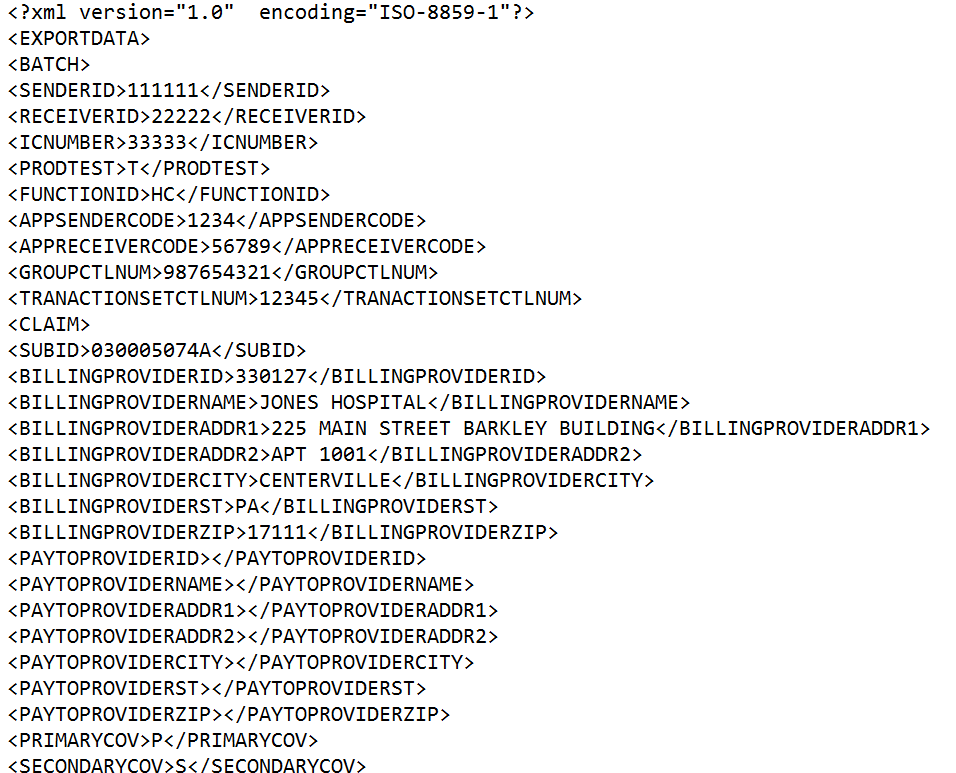
Here is a look at our XML source file. As expected we see the tags for our field data. Addionally we have some
control tags such as EXPORTDATA for the file, BATCH followed by batch header fields, CLAIM followed by our claim data, and finally
we have LINELEVEL followed by ou service line level fields.
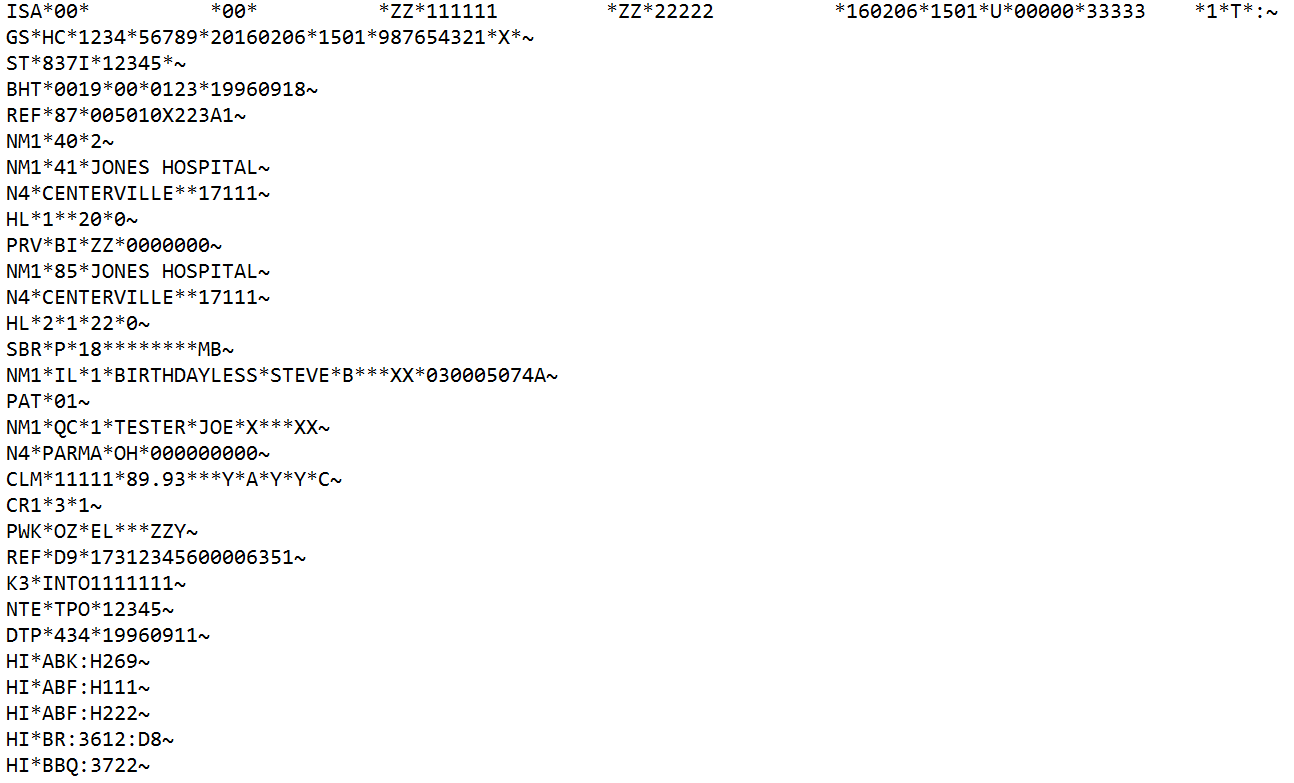
A look at our formatted X12 837 Institutional Claims file.
Configuration Basics
[Table of Contents]
The Inline Parser can be run either through the GUI user interface or in the command line mode.
There are four separate parameters being passed to the parser.
In the command line mode parameters are separated by a space.
The first parameter is the I/O Types. I/O types are separated by a comma.
The second parameter is the source file or source directory.
If a directory is specified, all valid files in that directory will be
parsed.
The third parameter is the destination file or destination folder.
If a file is not specified or if a source is a folder the parser will
name the destination file based on the source file name.
Options in the option string are separated by a comma.
Parsing an X12 file into CSV or XML we have several options available as it pertains to how we handle service lines.
- The basic method to map service lines requires we map each service line and its associated fields individually.
Pros
- One record is generated per claim
Cons
- Having to set the number of service lines that are mapped.
- Larger mapping makes for longer run time.
The SL option creates a single record for each service line using a multiple service line map.
Pros
- A record is generated for each service line in a claim
- Uses the same mapping used in basic mapping
Cons
- Same as basic mapping
The ML option creates a single record for each service line using a map that has been mapped to one service line.
Pros
- A record is generated for each service line in a claim
- Only one service line needs to be mapped
Cons
- Cannot create a single record with multiple service lines
Mapping
The mapping for the Inline Parser has two basic sections. The FIELD section where the fields are mapped to the X12, and the SEGMENT section where X12 segments are mapped for output.
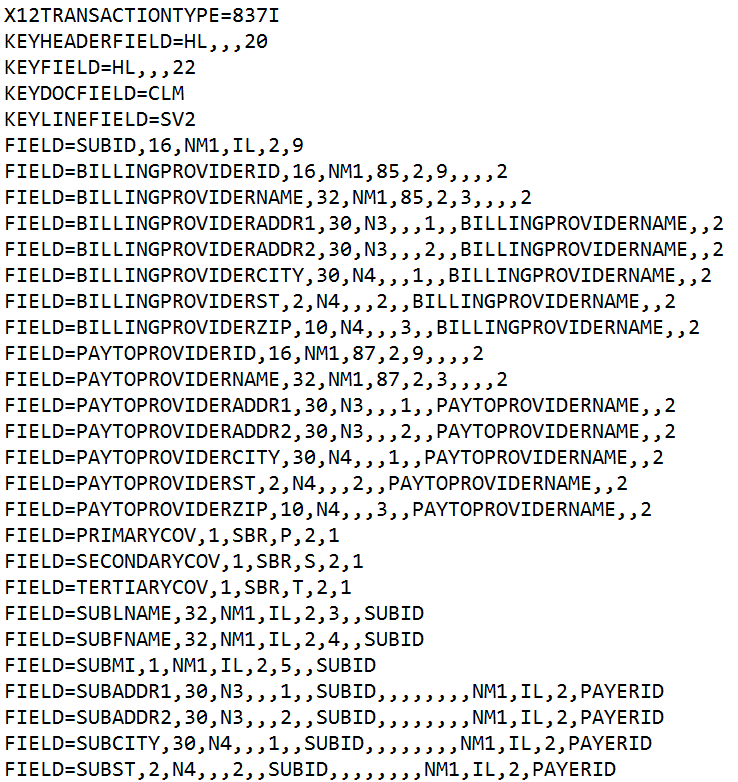
In the FIELD section of the mapping is at the core of the X12 to CSV/XML parsing. Each field is mapped out to reflect it's X12 characteristics.
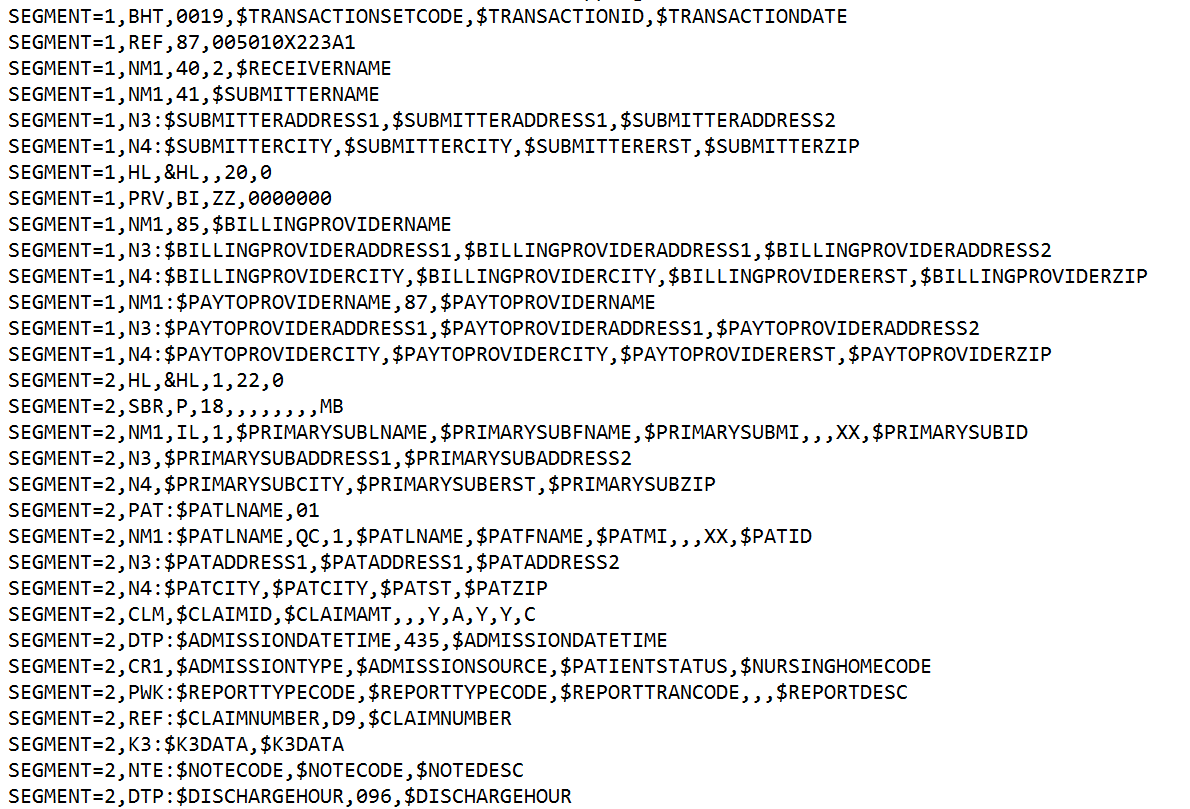
The SEGMENT section is used to convert CSV/XML to X12. Each segment that will appear in the X12 file is mapped out.
All dynamic fields used in the SEGMENT section must be mapped in the FIELD secion of the mapping.
The Inline Parser was originally designed to run in a high volume production environment handling any X12 tansaction. By default the mapping system
uses the X12 Version /Release/Industry Identifier Code stored in GS08 as it's default name for a map. This allows the Inline Parser to use the appropiate map for the tarnsaction being processed.
An example would be the file name 005010X222.cfg for 837 Professional and 005010X223.cfg for 837 Institutional claims.
User defind Pretags can be used with this naming system. This default mapping process applies to X12 to CSV/XML only.
In most cases it best to use the MAP= option in the option string to specify your map. This is considered the prefered way to supply mapping information to the Inline Parser.
Below is the option string used in one of our examples.
ml,ow,ho,outfile=\qa\qat1\output.csv,map=\qa\qat1\qat1c.cfg
Our option string is using the ML option for Dynamic Multi Line Mapping, it has the OW to overwrie if a destination file exists,
it has the HO option for Headers on the CSV columns, it specifies the output file, and it specifies the map.
|